New Features & Updates - January 2024Feb 01, 2024blogAssign files to Projects!The Files module has received an update for enhanced convenience and accessibility; it's now located in the application's left sidebar. Furthermore, files can now be linked to specific projects, allowing for easier file filtering by project. This enhancement marks the beginning of a series of updates aimed at introducing Client Portal Pages. These pages will enable you to associate various elements, such as Boards, Sketches, and Chats, with particular projects, making them accessible to your clients.Link to cards in public viewPreviously, only internal users had the...
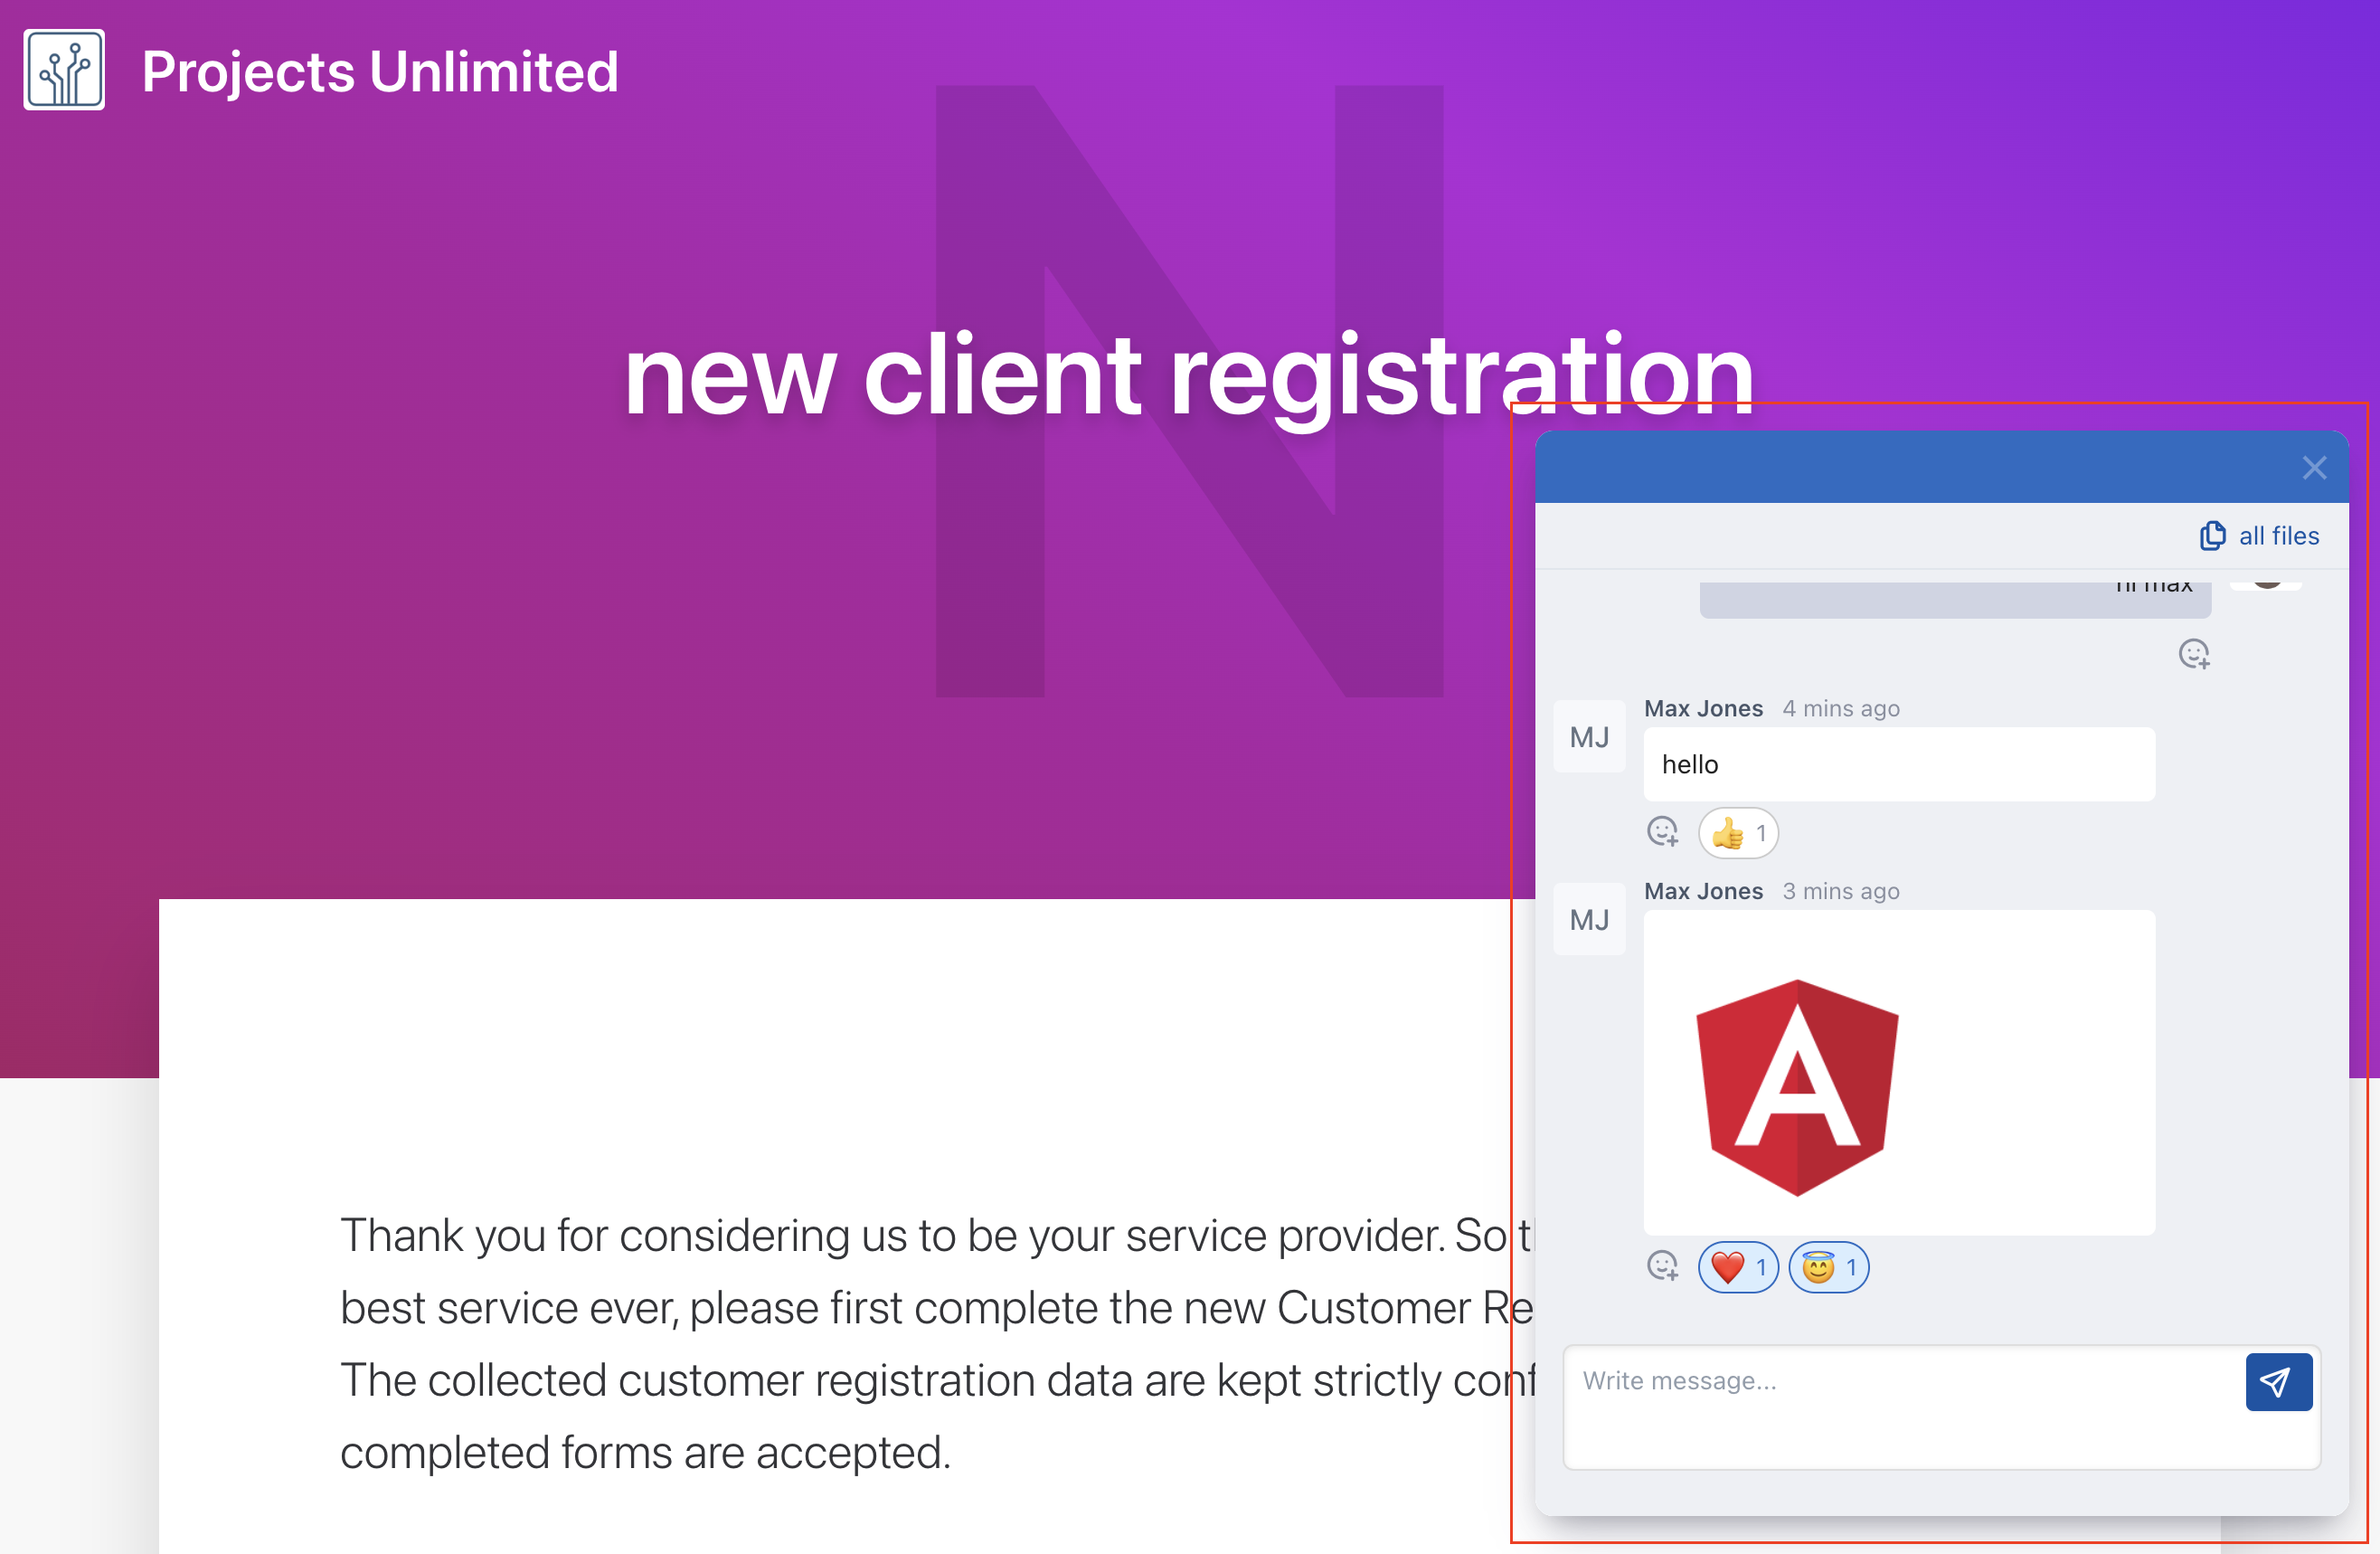
New Features & Updates - Nov 2023Nov 15, 2023blogChat module.. re-designed!The chat module has been completely revamped, bringing in vital improvements and exciting new features. These include options to enable or disable file uploads, and settings for either interactive or read-only modes. Additionally, we've introduced an embeddable standalone mode. This allows for the chat module to be seamlessly integrated into any website, either as a comprehensive chat window or as a small, unobtrusive chat bubble icon positioned in the site's lower right corner.A full video on how to embed the chat (akin Intercom, but completely free) into your sit...
How To Design An Embeddable Chat ModuleDec 12, 2023blogObjectiveThe concept of designing a chat module may seem straightforward in theory, but it requires a detailed approach, broken down into several components. The key aspects include:Developing the Core Chat Module: This involves creating a module that supports real-time communication. It should be versatile enough to accommodate both one-on-one and group discussions.Flexible Embedding Options: The design needs to allow users the flexibility to embed the chat in two ways: either as a full chat module or as a discreet chat bubble located at the bottom-right corner of the screen, which, when c...
New Features & Updates - Oct 2023Nov 01, 2023blogText editor receives a makeoverThe text editor has undergone a complete overhaul, introducing essential enhancements and new capabilities. We've implemented genuine WYSIWYG (What You See Is What You Get) editing, eliminating the necessity for a preview function. Text formatting options have been significantly expanded, providing a more robust set of tools for content creation. Additionally, we've integrated the ability to embed images and videos directly within the editor. Furthermore, we've introduced comprehensive support for user mentions, complete with real-time notifications to keep us...
New Features & Updates - Sept 2023Sep 15, 2023blogBoards on mobile devicesKanban Boards have been upgraded for complete mobile device responsiveness Notification HistoryWe've activated a notification history feature to ensure that archived alerts, including meeting announcements, card mentions, and sketch updates, remain available for review even after archiving.Embeddable Custom FormsEmbedding custom forms into your website is a breeze—just copy and paste the provided JS code. All form responses are monitored, and the results can be viewed in the "Submissions" section. Plus, you can configure notifications to alert you whenever a form is ...
New Features & Updates - August 2023Sep 01, 2023blogSide Panel in Boards > Card: A Fresh LookExperience the entirely reimagined right-side panel of the card designed for better content accessibility, accommodating more details effortlessly on a single card.Boards > Column Triggers Undergo Total TransformationColumn triggers have undergone a complete makeover! Now, experience enhanced modularity and the ability to stack triggers in sequence as you place a card in a column. Watch the full videoSeamless Integration of Custom Forms with Boards > Card Embed Custom Forms right into a card. This integration ensures that client feedba...
What Is Cogency?Sep 15, 2023blogEffortlessly Schedule & Manage Meetings and EventsOur meeting scheduler and event management tool simplifies the process of organizing and scheduling meetings, ensuring that everyone involved is on the same page.You can easily send meeting invitations, track responses, and manage your calendar effectively. By eliminating the hassle of manual scheduling, you can save time and focus on more important tasks.Create Custom Forms to Capture Essential InformationOur custom form builder allows you to create tailored forms to collect necessary details about your projects, customers, or any speci...
2023 Guide To The Best Screen Sharing App For Remote CollaborationSep 11, 2023blogAs remote work and collaboration continue to gain traction, finding the right screen sharing app has become increasingly important. But with so many options available, how do you choose the best one for your needs? This comprehensive guide will take you through the top screen sharing apps in 2023, their features, benefits, and limitations, as well as provide you with practical tips for effective screen sharing and real-life applications. So let’s dive in and discover the perfect screen sharing app for you!Short SummaryReview features and functionalities of top 5 screen sharing apps for 2023...
The Best Scheduling App To Use In 2023 | Top 10 ChoicesJul 12, 2023blogIn the bustling world of business, time is an invaluable resource. Scheduling appointments, managing bookings, and juggling calendars can be a time-consuming task. This is where the best scheduling app comes into play, acting as a digital personal assistant to streamline your processes, save time, and boost efficiency. But with a plethora of options to choose from, how do you determine the best fit for your business needs?Short SummaryComparing 10 top scheduling apps for 2023, Setmore is the ultimate choice for businesses seeking a powerful and easy-to-use solution.Scheduling apps can strea...
Comparison Of Free Scheduling Apps - Cogency.Io Vs. Calendly, Doodle, And HubSpotJun 26, 2023blogIn today's fast-paced business environment, efficient scheduling, task management, collaboration, and content sharing are essential for productivity and success. In this article, we will compare the services offered by Cogency.io with popular platforms such as Calendly, Doodle, and HubSpot, focusing on their meeting scheduling, task management, collaboration, and content sharing capabilities. Meeting Scheduler & Event ManagementCogency's meeting scheduler and event management tool streamline the process of organizing and scheduling meetings, ensuring seamless coordination among particip...
End of content
No more pages to load
By continuing to use our website, you acknowledge the use of cookies.